Engine oil is often called the lifeblood of a vehicle—and for good reason. It lubricates moving engine components, reduces friction, helps regulate temperature, and protects against premature wear. Yet many car owners rarely inspect their oil level until a warning light appears on the dashboard.
Knowing how to check engine oil level correctly is one of the simplest maintenance tasks every driver should learn. It takes only a few minutes, requires no special tools, and can help prevent costly engine damage. Whether you drive a petrol, diesel, hybrid, or even a performance vehicle, regular oil checks are essential for long-term reliability.
If you’ve recently learned about common vehicle diagnostics through our guides on OBD2 Error Codes Explained and Blue Smoke From Exhaust Causes, understanding engine oil inspection is another important step toward responsible car ownership.
Why Engine Oil Is So Important
Before learning how to check engine oil level correctly, it’s helpful to understand what engine oil actually does.
Engine oil performs several critical functions:
- Lubricates engine components
- Reduces metal-to-metal contact
- Helps cool internal engine parts
- Prevents sludge formation
- Protects against corrosion
- Removes contaminants
According to the American Petroleum Institute (API), maintaining proper oil levels and using the recommended oil grade are among the most important factors for engine longevity.
Even a small drop below the recommended oil level can increase engine wear over time.
How Often Should You Check Engine Oil?
Many manufacturers recommend checking engine oil at least once a month.
However, more frequent inspections may be beneficial if:
- Your vehicle is older
- You drive long distances regularly
- You frequently travel in heavy traffic
- Your engine consumes oil
- You notice oil leaks
In real-world situations, checking oil every two to four weeks can help identify problems before they become serious.
Signs Your Engine Oil Needs Attention
Sometimes your vehicle provides warning signs before oil levels become dangerously low.
Common indicators include:
- Oil pressure warning light
- Engine overheating
- Ticking or knocking sounds
- Reduced engine performance
- Burning oil smell
- Blue exhaust smoke
If you’ve noticed symptoms discussed in our article on Engine Misfire Causes, low or degraded oil may sometimes contribute to performance issues.
Tools Needed to Check Engine Oil
Fortunately, very little equipment is required.
You’ll need:
- A clean cloth or paper towel
- Protective gloves (optional)
- A level parking surface
- Good lighting
That’s it.
Most vehicles already include an oil dipstick for measurement.
How to Check Engine Oil Level Correctly
Step 1: Park on a Flat Surface
This step is often overlooked.
For an accurate reading:
- Park on level ground
- Engage the parking brake
- Switch off the engine
If the vehicle is parked on a slope, the oil may collect unevenly inside the oil pan, resulting in an inaccurate reading.
Step 2: Allow the Engine to Cool Slightly
After driving, wait approximately 5–10 minutes.
This allows:
- Oil to drain back into the oil pan
- Hot engine components to cool slightly
- More accurate measurements
Many vehicle manufacturers provide specific recommendations in their owner’s manuals. The National Highway Traffic Safety Administration (NHTSA) also encourages following manufacturer maintenance guidelines.
Step 3: Locate the Oil Dipstick
Open the hood and locate the dipstick.
Most dipsticks feature:
- Bright yellow handle
- Orange handle
- Clearly marked oil symbol
Consult your owner’s manual if you’re unsure.
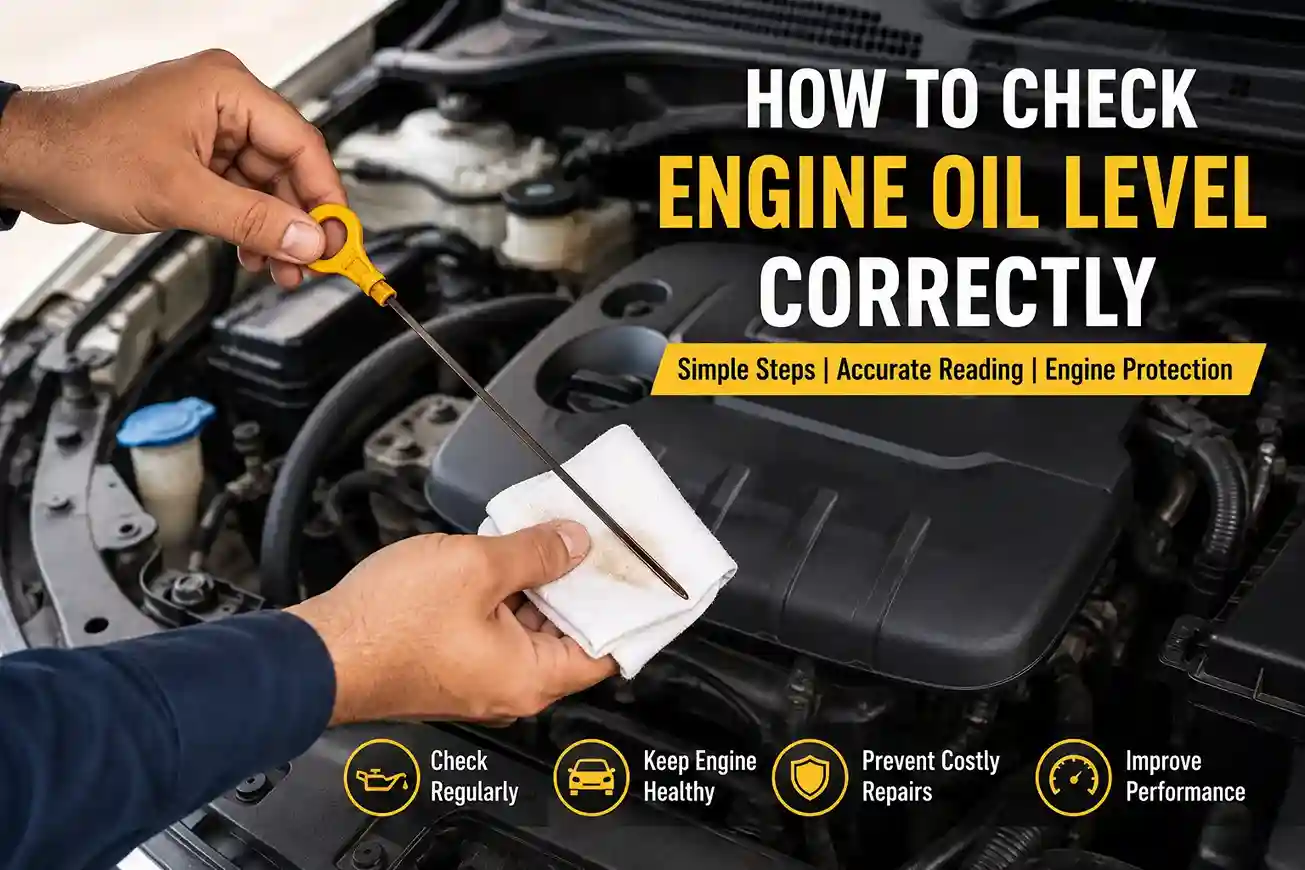
Step 4: Remove and Clean the Dipstick
Pull the dipstick out completely.
Using a clean cloth:
- Wipe away all existing oil
- Ensure the measurement area is clean
This initial reading isn’t accurate because oil may have splashed onto the dipstick while the engine was running.
Step 5: Reinsert the Dipstick Fully
Insert the dipstick completely back into its tube.
Make sure it seats properly.
Then pull it out again carefully.
Step 6: Read the Oil Level
Examine the oil film on the dipstick.
Most dipsticks have:
- MIN and MAX markings
- Low and Full indicators
- Crosshatched measurement area
The oil level should ideally be:
✅ Near the MAX mark
or
✅ Within the safe operating range
If the oil level is near or below the MIN mark, additional oil may be necessary.
Understanding Dipstick Markings
Different manufacturers use different designs.
Common markings include:
Full / Maximum Mark
Indicates optimal oil level.
Low / Minimum Mark
Indicates the lowest safe operating level.
Crosshatched Area
Represents the acceptable range.
As long as oil remains within this zone, the engine generally has sufficient lubrication.
How to Check Oil Quality
Checking oil level is only part of the process.
Oil condition matters too.
Healthy Engine Oil
Usually appears:
- Amber
- Light brown
- Smooth in texture
Oil That Needs Replacement
May appear:
- Very dark black
- Thick or sludgy
- Contaminated with debris
According to the Car Care Council, regular inspections help identify contamination before it affects engine performance.
What If the Oil Level Is Low?
If oil falls below the recommended range:
Add Oil Gradually
Avoid adding too much at once.
A good approach:
- Add small quantities
- Wait a few minutes
- Recheck the level
Use the Correct Oil Grade
Always follow manufacturer recommendations.
Common grades include:
- 0W-20
- 5W-30
- 5W-40
- 10W-30
The correct specification can usually be found:
- In the owner’s manual
- On the oil filler cap
- On manufacturer service documentation
Why Overfilling Engine Oil Is Also Dangerous
Many drivers focus only on low oil levels.
However, excessive oil can also cause problems.
Potential consequences include:
- Increased crankshaft resistance
- Excessive oil pressure
- Foaming
- Seal damage
- Catalytic converter damage
In real-world situations, overfilling sometimes occurs after DIY oil top-ups without proper measurement.
Common Mistakes Drivers Make
Checking Oil Immediately After Driving
Hot oil may still be circulating.
This often results in inaccurate readings.
Ignoring Small Drops in Oil Level
Even gradual oil loss deserves investigation.
Using the Wrong Oil Grade
Incorrect viscosity can affect engine protection and fuel efficiency.
Overfilling the Engine
More oil does not provide extra protection.
Relying Only on Dashboard Warnings
Warning lights often indicate a developing problem—not necessarily an early warning.
When Oil Consumption May Indicate a Problem
Some oil consumption is normal.
However, excessive consumption may suggest:
- Worn piston rings
- Valve seal wear
- Turbocharger issues
- Oil leaks
If you’re also seeing symptoms like smoke from the exhaust, reviewing our guide on Blue Smoke From Exhaust Causes can help identify possible underlying issues.
Best Practices for Maintaining Proper Oil Levels
Perform Monthly Checks
Regular inspections help identify problems early.
Monitor for Leaks
Look beneath the vehicle periodically.
Follow Manufacturer Service Intervals
Timely oil changes improve engine protection.
Use Quality Oil Filters
Filters play a crucial role in removing contaminants.
Record Oil Usage
Tracking oil consumption can help identify developing engine problems.
Modern Cars With Electronic Oil Monitoring
Many newer vehicles use:
- Electronic oil sensors
- Digital oil level displays
- Vehicle information systems
Even when electronic monitoring is available, manufacturers often recommend periodic manual verification.
For example, guidance from vehicle manufacturers such as Toyota Global emphasizes following scheduled maintenance procedures and owner manual recommendations.
Frequently Asked Questions
How often should I check my engine oil?
Most experts recommend checking it at least once per month or before long trips.
Should I check oil when the engine is hot or cold?
Typically, wait 5–10 minutes after switching off the engine to allow oil to settle.
What happens if engine oil gets too low?
Low oil levels can cause increased friction, overheating, accelerated wear, and severe engine damage.
Can I drive with low engine oil?
Driving with insufficient oil is risky and may lead to expensive repairs.
What color should healthy engine oil be?
Fresh oil is usually amber or light brown, although color alone is not always a reliable indicator of condition.
How much oil should I add if the level is low?
Add small amounts gradually and recheck frequently to avoid overfilling.
Conclusion
Learning how to check engine oil level correctly is one of the most valuable maintenance skills any driver can develop. The process takes only a few minutes but can help prevent costly engine damage, improve reliability, and extend vehicle life.
By checking oil regularly, monitoring oil quality, using the correct oil grade, and addressing leaks or excessive consumption promptly, drivers can keep their engines operating efficiently for years. Whether your vehicle is brand new or has accumulated thousands of kilometers, understanding how to check engine oil level correctly remains a fundamental part of responsible car ownership.
Author: Carsinfos Editorial Team
Published: Aug 21st, 2026